January 20 and 21nd, 2018, 18h
Now that both the front, back spars and all the ribs are ready. It is time to cleko the wing Skeletons together and match drill everything.
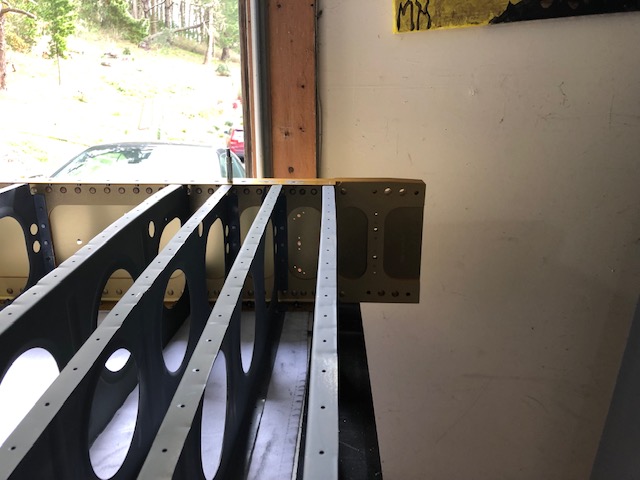
So, in order to work on the hole skeleton for the 2 wings, I needed to move the work to the wing stand. However, the wing stand was too high for be to be able to drill the top spar to the skeleton. So, I lowered the wing stand. Then I moved the front spar and started to cleko all the ribs and the back spar. I was very happy to see the wings forming.


After I had both wing skeletons attached. I matched drilled everything. Moved the clekos, then match drilled the rest. That was quit a large number of drilling and putting clekos.
Then it was time to disassemble everything.
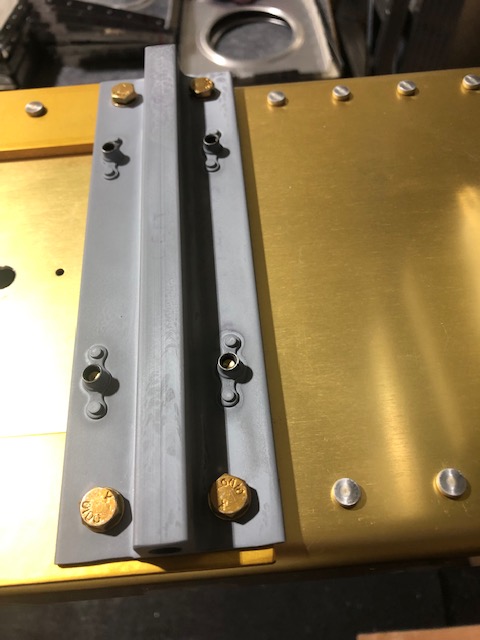
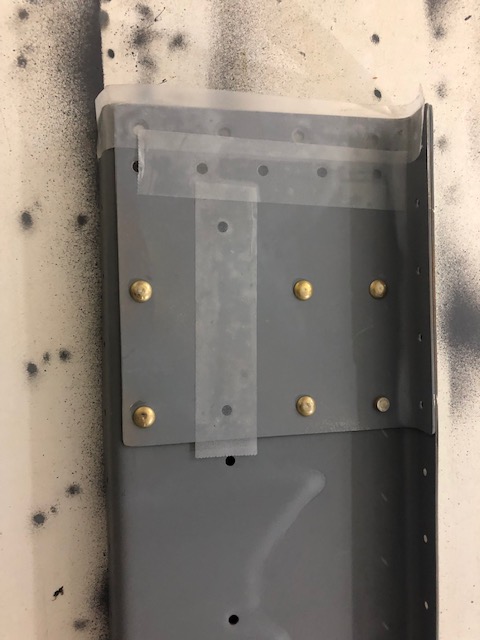
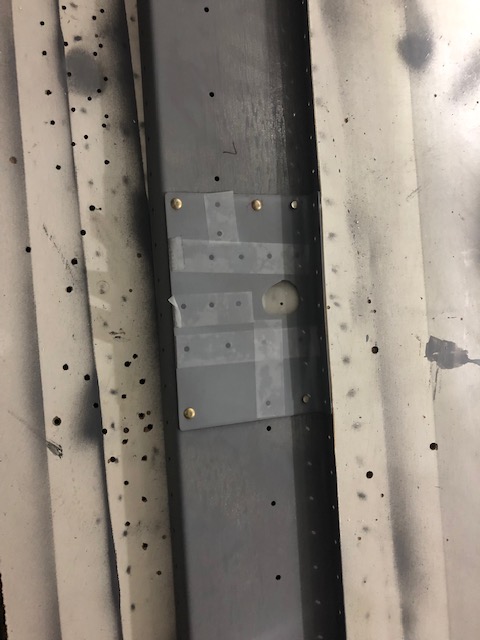
Then I drilled the conduit holes in all the ribs. I had to pick a place for the light wiring holes since that is not pre drilled, so I followed Van’s recommendation, by putting them in the lower third of the ribs, between the first and second large holes. Then I created a template to copy the holes to the rest of the ribs.
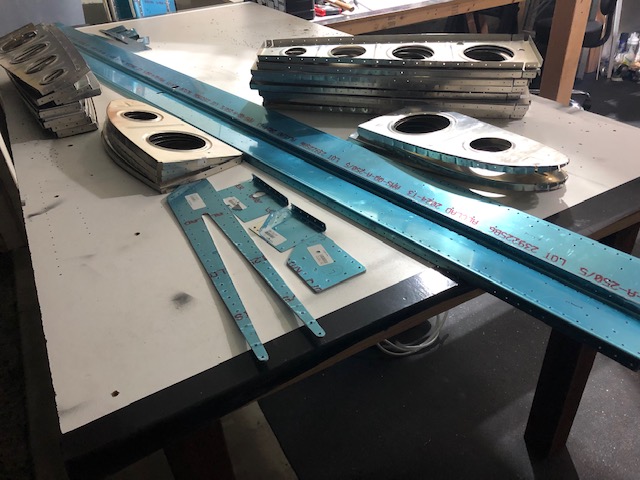
Now, all the part are ready to move to the priming stage.