Finishing the wings

January 19th, 8.5h

Final touch-ups on the wings.

We drilled the inboard bracket for the flap hinge, drove the hinge through the hole and bent the flap hinge.  This finalized the flap installation.

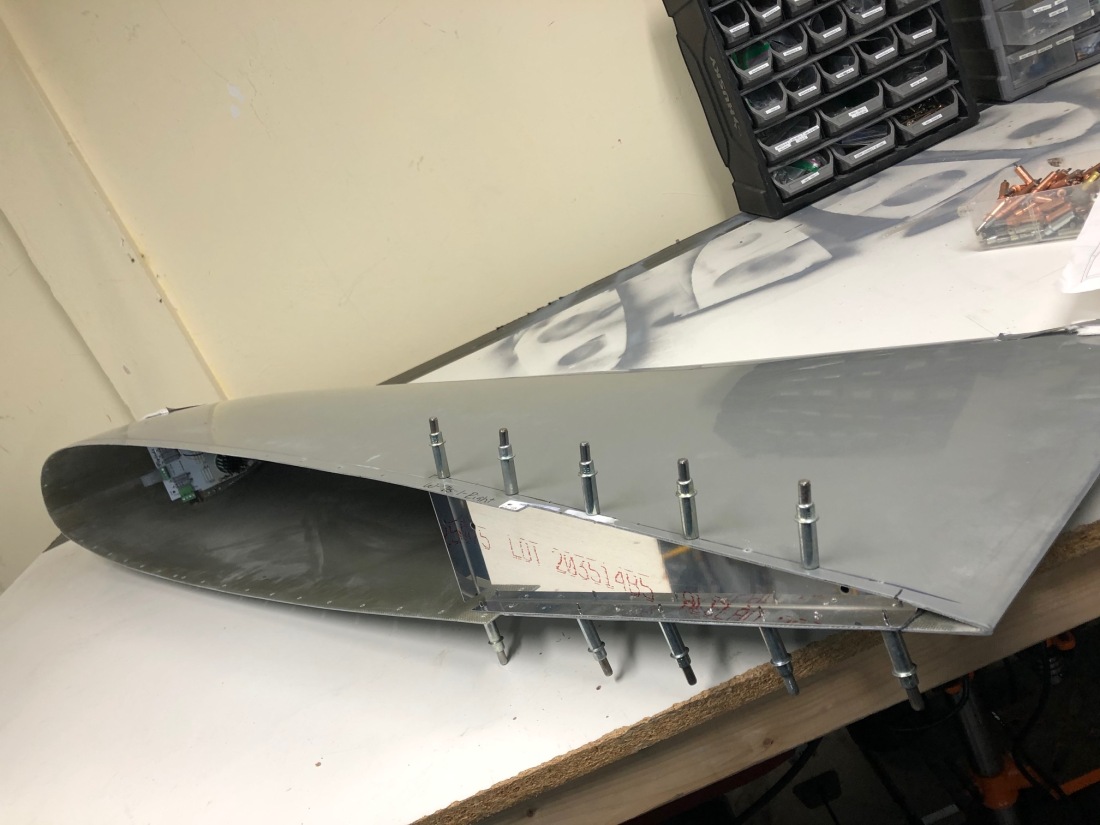
We drilled the wing tips.  We were thinking of going all the way to installing all the platenuts, but after consulting with Vans, they suggested waiting on the platenuts until attaching the wings to the fuselage.  This way, I will be able to get a better alignment of the wing tips with the neutral position.

IMG_1888.jpg

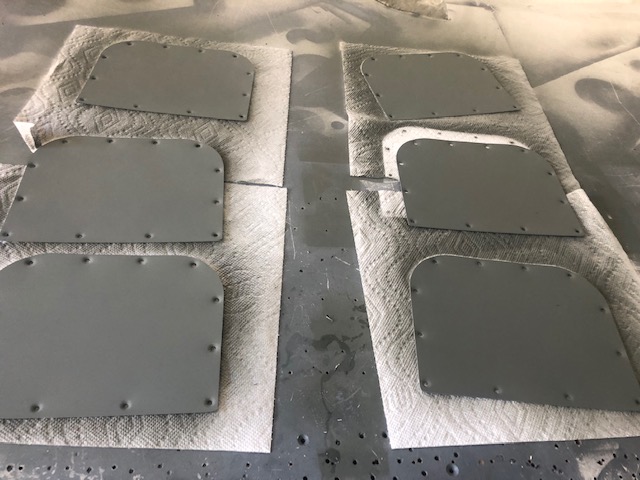
Then we installed all the access plates. The wings are complete for the time being
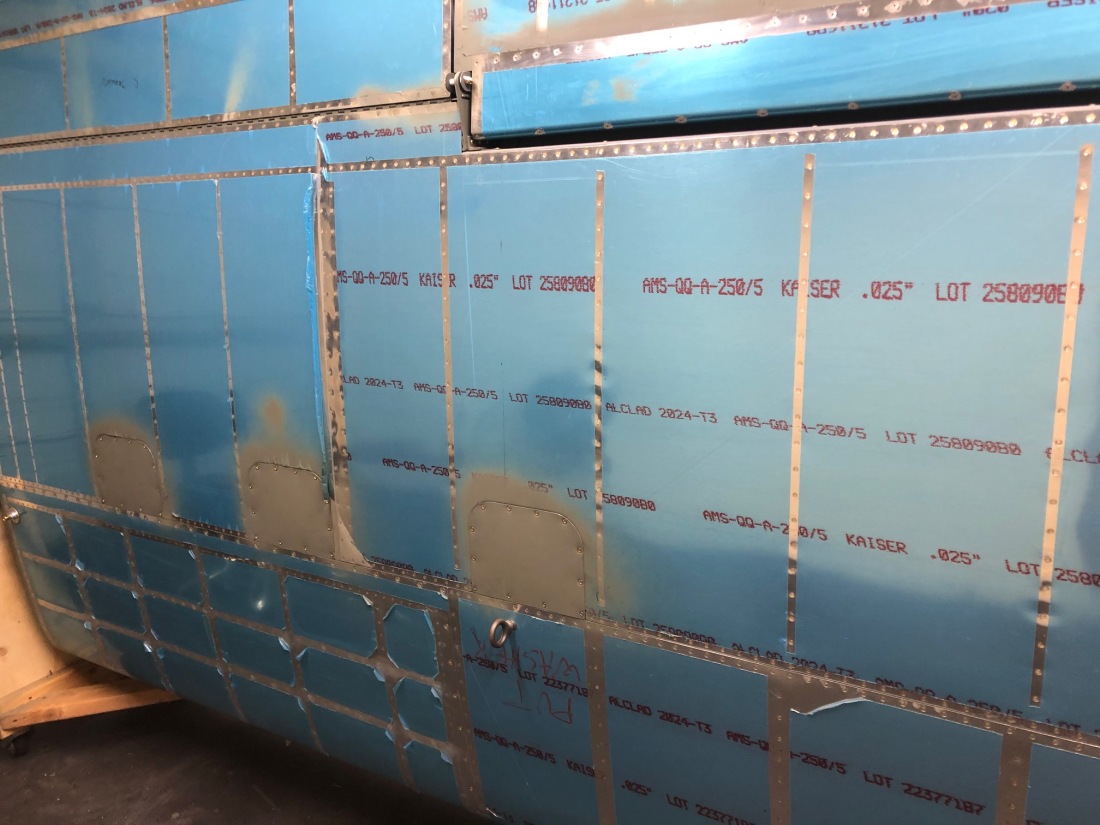
IMG_1890.jpg

IMG_1891.jpg

Finishing wing lights and lens

January 12th, 9h

We finished installing the lights into the wing tips.  We had to make some small adjustment to the wing tips for a smooth insertion of the lights.  Then we riveted the plate nuts, and attached the lights.

Afterwards, we moved to the lens.  We did a rough cut of the lens, then we set each half on top of its wing tip, and traced a contour to follow.  Based on the contour, we cut he lens using snips, then we sanded it to get a nice finish.

Afterward, to attach the lens to the wing tip, we decided to go with 2 plate nuts per lens.  we match drilled the lens to the wing tip, then we drilled the rest of the holes for the plate nuts and riveted it.  Finally we attached the lens to the wing tip.  The result looks great.

IMG_1874.jpg  IMG_1875.jpg

IMG_1878.jpgIMG_1877.jpg

Finishing install of right flap

January 1st, 3h

After further Analysis of the alignment of the flap hinge attached to the skin, we realized that we can just adjust the teeth of the hinge.  The adjustments were very small, then we tested attaching the right flap.  We went through few trials, until we got to the desired results, the pin can easily flow between the 2 parts of the hinge.  The flap was attached and the motion is pretty smooth. The wing looks complete, only couple items remaining.

IMG_1881.jpg

IMG_1879.jpg

Finishing Wing Riveting

January 1st, 5h

Today, we finished the wing skin riveting.

First, we fixed the little dent in the left leading edge following Vans instructions by forming a piece of wood to fill the leading edge from the inside and using a mallet, carefully fixing the dent.  Then, we finished the last panels of riveting in the left wing.

IMG_1884.jpg

Afterward, we moved on to riveting the plate nuts for all the access panels.

IMG_1880.jpg

IMG_1883.jpg


Access pannels

December 22nd, 4h

The wings are very close to complete, just few items left.  So, I decided to install the  the access panels, so that I can close the wings:

  • Match drilling access panels to wing bottom kin
  • Match drilling access panels to planetenuts
  • deburing
  • dimpling
  • Priming

IMG_1806.jpg

What left is to rivet the platenuts to the bottom Skins, then to screw the access panels

Attaching flaps and ailerons

December 13th, 14th, 10h

I riveted the flap to the right wing, which went great.  It is great to see both the flap and aileron on and rotating.

IMG_1804.jpg

Then I moved to the left wing.  For this one, I had to redo the hinge, since the holes in the previous hinge did not end up having edge distance. After redoing all the drilling, deburring and dimpling, I was finally able to rivet the hinge.  However this hinge did not end up being perfectly straight, because of some enlarged holes for which there was no access to enlarge the countersink.  So, I waiting to hear from Vans about this one:

IMG_1802.jpg

So, I switch to working in the aileron and bell-crank. I redid the bell-crank since in the previous one the riveting of the end did not go great. Redoing the bell-crank went smoothly,  then I attached the bell-crank to the aileron.  Now the aileron for the left wing is moving great as well.

IMG_1805.jpg


Redoing fuel caps

December 7th and 8th, 10h

I decided to redo the fuel tank lids after checking with Vans.  The issue happen when  torqued the bolts after the sealant was dry.  I added fuel tank sealant to the outside of the bolts, but Van said that it is not enough.

So I went ahead and removed all the bolts from all the lid for both the left and the right fuel tanks.  Then I spent many hours cleaning the lids, the holes and nutplates.  Then I reset the bolt with wet sealant again.


Riveting Bottom skin

November 30th,  December 1st, 14h

We continued on riveting the bottom skin for the right wing.  We nearly finished the whole bottom skin, at the exception of the last 2 raws. We ended up having a little incident, dropping the bucking bar inside, we decided to check with Vans before continued.

IMG_1784.jpg

Then we moved on to the left wing and riveted the whole left bottom wing skin. As well, we finalized the pitot tube installation.

IMG_1785.jpg

IMG_1786.jpg

IMG_1787.jpg

Before closing in the wing.  We took pictures of the serial number of the hardware inside.

IMG_1781.jpg

IMG_1782.jpg


Riveting Bottom skin

November 24nd, 6h

After some more reading and talking with Vans about riveting the bottom skins and attaching the flaps,  I realized that I had to setup the flaps first.  So I had to remove all the previous rivets I set in the bottom skin.  Then after setting up the flaps.  We riveted the bottom inner skin and half of the bottom outer skin for the left wing

IMG_1772.jpg